
If you’re like most pediatric practice owners we’ve met, educating the community is a purpose near and dear to your heart. But how do you go beyond your clinic walls to share knowledge with people you’ve never met?
It can be done and is done every day with video blogs (“vlogs”). All you need is an iPhone, internet connection and a passion to help others.
What Is Video Blogging?
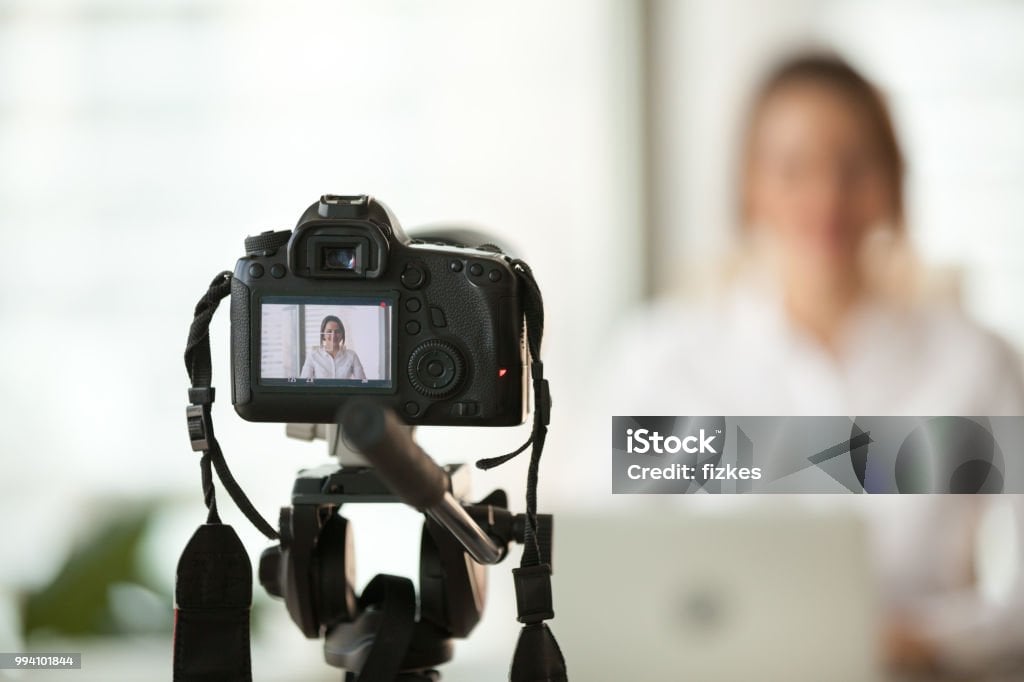
Video blogging is similar to text-based blogging, but rather than writing an article on a given topic, a subject matter expert—like a pediatric therapist—explains the topic in a short video.
Why opt for video instead of the written word?
Per a recent survey, 78% of consumers prefer to watch a video to find out more about a product. By contrast, only 9% would prefer a written article:
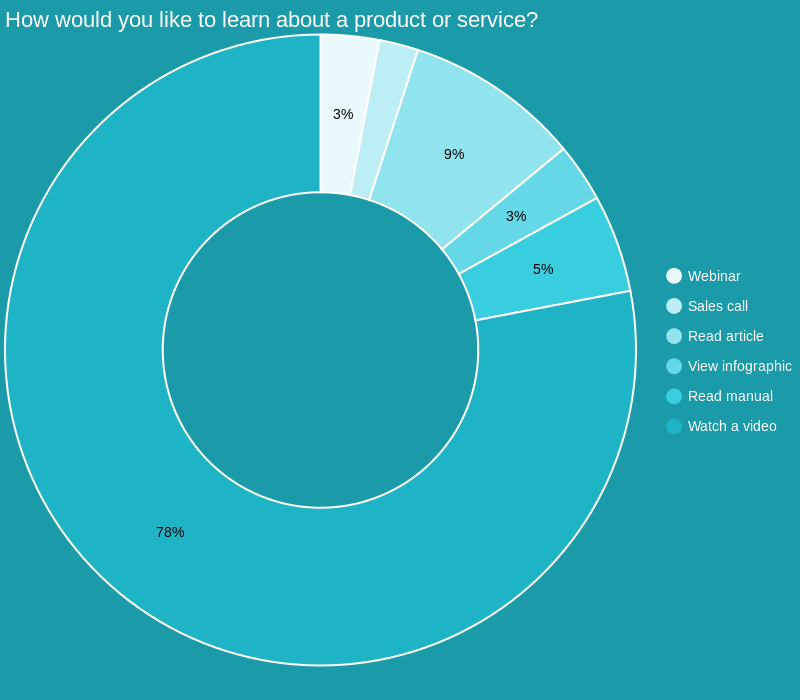
Source: Wyzowl
Additionally, a walloping 98% of consumers have learned more about products or services through watching videos:
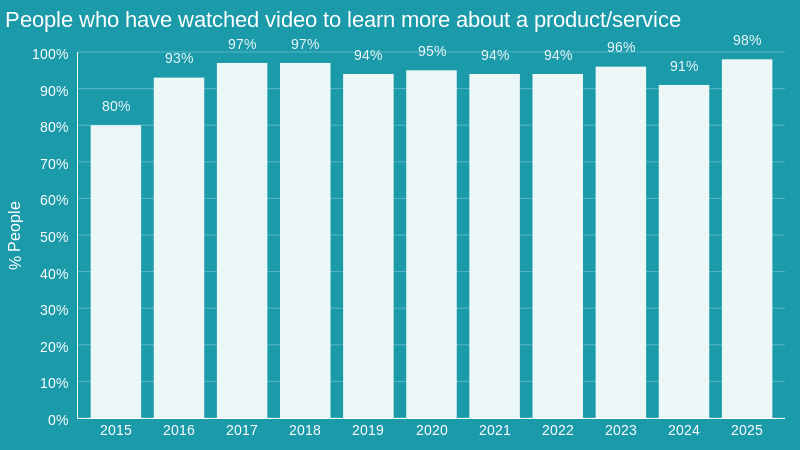
Source: Wyzowl
Clearly, video blogging is a powerful marketing tool as well as an educational tool.
But where to begin?
Like any type of communication, it starts with knowing what to say.
Step 1: Choose Topics That Speak to the Caregiver’s Needs
Many of you have been practicing for years if not decades. In that time, you’ve accumulated a ton of first-hand knowledge dealing with parents and kiddos alike. You know what parents know, don’t know and should know. That’s why we recommend looking to yourself for which topics to cover in your vlogs. To crystalize your thoughts, we’ve included some questions you could ask yourself below. And remember, here is your chance to educate, inspire, interest and entertain:
- What mysteries do caregivers have which you need to dispel?
- What questions are you answering over and over again?
- What concerns or complaints do caregivers frequently mention?
- What advice do you have for caregivers whose kids need the services in your niche?
- What would you most like to educate caregivers about?
- What do you think they need to know?
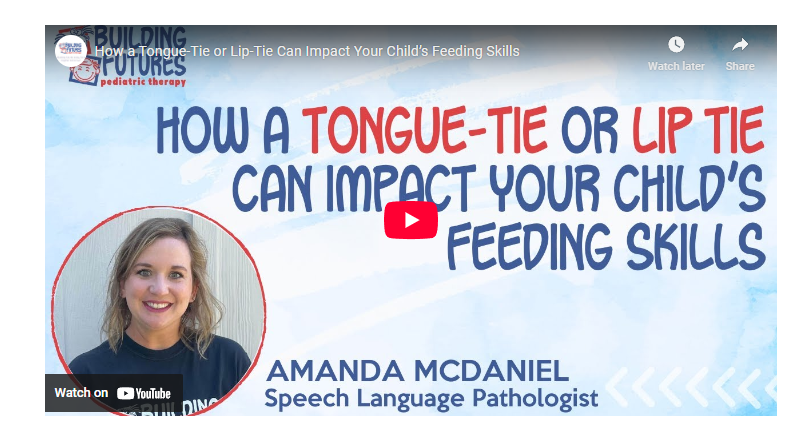
Here’s a vlog topic example from our client, Building Futures Pediatric Therapy:
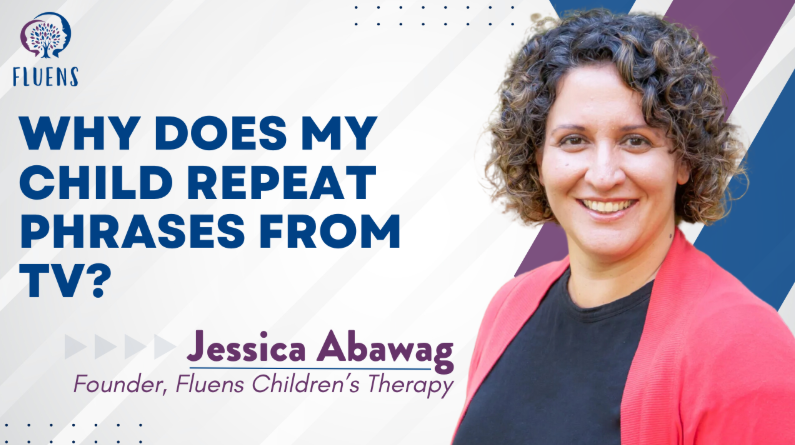
And here’s an example from Fluens Children’s Therapy, another Uplift client:
We recommend preparing a list of a dozen or so topics. That way, you can shoot several vlogs at one time.
Step 2: Use Talking Points as a Guide (Not a Script)
Now that you have your topics, you may think you need to write a script and wonder how to do that. Don’t worry; scripts aren’t needed. The reason is 63% of consumers consider authenticity in marketing videos to be more important than polish. Using a script defeats authenticity.
We recommend devising talking points to use as a guide in shooting your vlogs. We do this for Uplift clients and it gives their videos a relaxed, spontaneous feel. We also include instructions for clients to introduce themselves at the start of the video and close with a gentle “call to action” to reach out to the practice. Here’s a set of talking points we devised for a pediatric OT vlog:
5 Signs Your Child Might Need Occupational Therapy
(for each point, give a simple example and then explain how OT can work on these skills.)
-
- They don’t play appropriately with toys.
- They have difficulty taking turns.
- They don’t play with others (or join in parallel play).
- They struggle with emotional regulation.
- They can’t participate in their own self-care.
Once you have your talking points together, get comfortable with them. Run through them a few times to ensure they make sense to you. Gather your thoughts. Maybe even set up the camera without filming and talk to it until you’re comfortable. The point here isn’t to develop a script—it’s just to ensure you’re relaxed and ready to discuss the topic.
Step 3. Prep for Your Vlog Shoot
It’s time to prepare for your shoot by following these key guidelines:
1. Shoot with a Newer Smart Phone or Digital Camera
For the highest-quality video, use a late-model iPhone, Android phone or digital camera to record your shoot.
2. Use the Right Settings (for IPhone and Android Users)
If you’re shooting with a smartphone, using the right camera settings is essential. Here is what we recommend:
For iPhone Users: Go to Settings > Camera > Record Video, then select 4K at 30 fps. Before you start filming, verify these settings by checking the top-right corner of the camera app.
For Android Phone Users: Open your Android camera > Select VIDEO > tap the resolution setting (it will say something like FHD 30) > then tap UHD 30.
Pick an Engaging, Uncluttered Background
Choosing an uncluttered background doesn’t necessarily mean you have to shoot against a plain white wall. The setting should be appropriate to the topic, such as a clinic treatment space or play area.
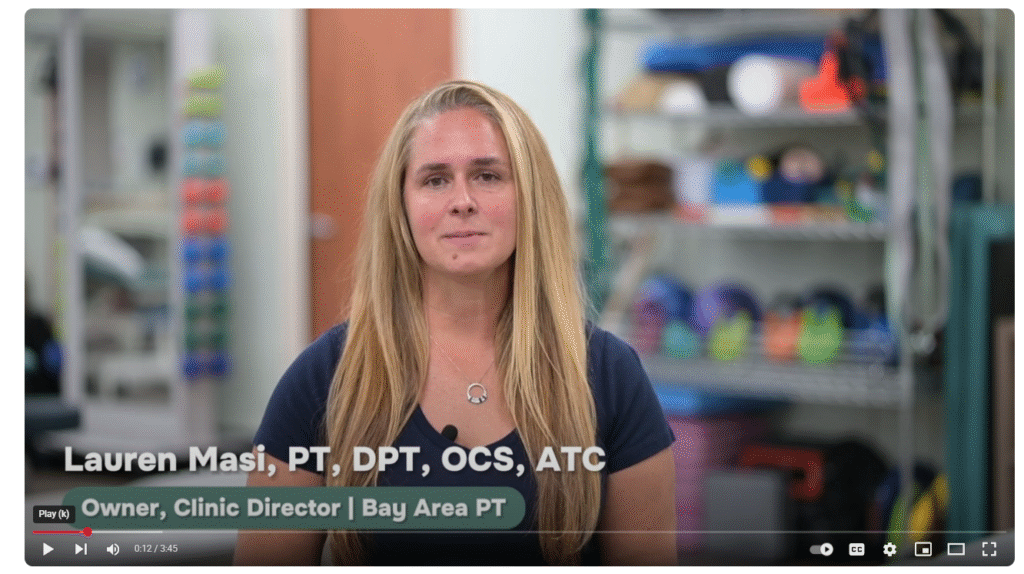
Below is an example from an Uplift client vlog. The speaker is Lauren Masi, PT and owner of Bay Area Physical Therapy, a private practice that treats adults. The vlog topic is “Health and Wellness Tips from a Physical Therapist.” The backdrop is one of the clinic’s treatment areas.
There’s lots of stuff in the background for sure, but they’re stowed in an organized way. With the speaker in focus and the background blurred—a technique we’ll discuss later in this article—Lauren is the center of attention against a background that adds both interest and a professional feel.
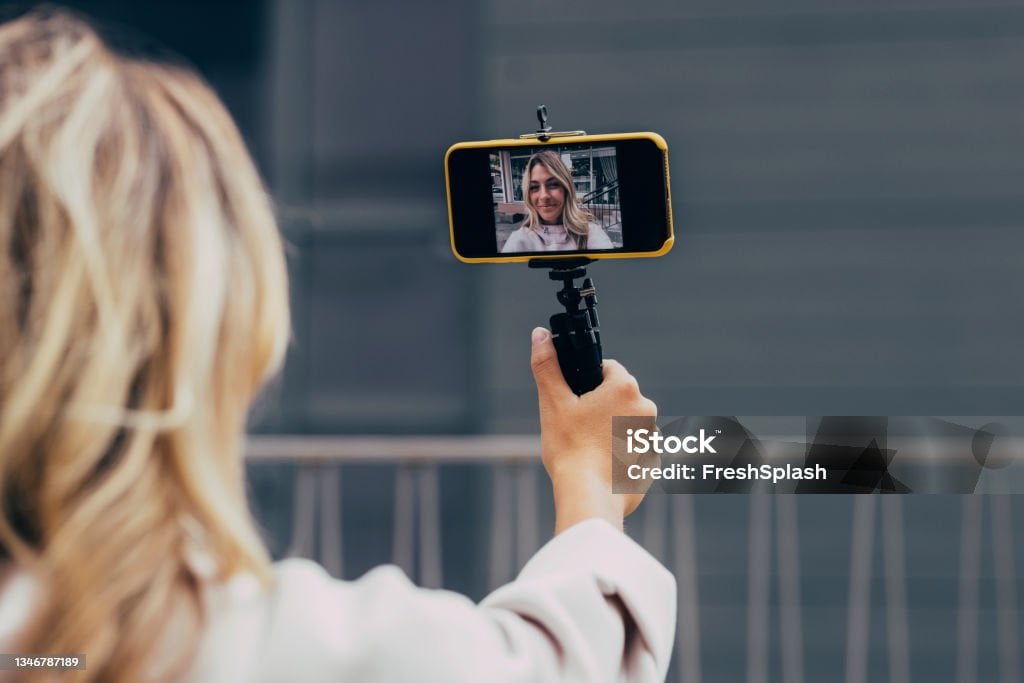
Record with a Tripod to Prevent Camera Shake
No matter how steady a person’s hands are, shooting video with a handheld camera usually results in some “camera shake.” A trip-pod (a three-legged stand to support a camera) prevents this, so be sure to use a tripod when you film. And be sure to position the tripod so the speaker is centered in the frame and the camera lens is at eye level with the speaker’s face.
Use a Microphone for Clear, Quality Sound
Clear, crisp audio is just as important as clear, crisp visuals. For those recording with a smartphone, we recommend an inexpensive lapel mic from Amazon. While recording, be sure nothing brushes up against the mic. Even a slight rustle of long hair will be picked up.
Steer Clear of Background Noise
Be mindful of background noise in the shoot location, like passing traffic or doors opening and closing. If you’re shooting in an open area where people are moving about, there may be some noise. In that case, use a microphone that only captures your voice. If in doubt, shoot some test footage or change locations.
Stand Away from Your Backdrop
Have the speaker stand or sit a few feet away from background wall to add depth and avoid shadows. Also, place the camera five to six feet in front of the speaker to prevent their face from filling the screen. This gives the video editor room to insert on-screen graphics, as you can see in the example below:
Position High-Quality Lighting in Front of the Subject
Lighting can make or break your video. The best lighting is daylight because it’s natural and flattering. Ideally, the speaker would be facing a window with natural light coming through. Never shoot with a window behind the speaker as they will appear dark while the window will be very bright. If you can’t shoot facing a natural light source, LED or bright white bulbs are the second best choice and yellow incandescent bulbs are third. Dim rooms are a no-no. No matter what, make sure there are no shadows on the speaker’s face.
Round Up Props, Charts or Whiteboards (If Needed)
Using props, diagrams or live demonstrations during your vlogs not only increases understanding, it makes the vlogs more engaging. We strongly recommend including these items wherever possible. For instance, if you’re shooting a vlog on sensory integration, hold up sensory tactile balls and describe how they’re used. If you’re explaining augmentative and alternative communication (AAC) devices, demonstrate how a device works.
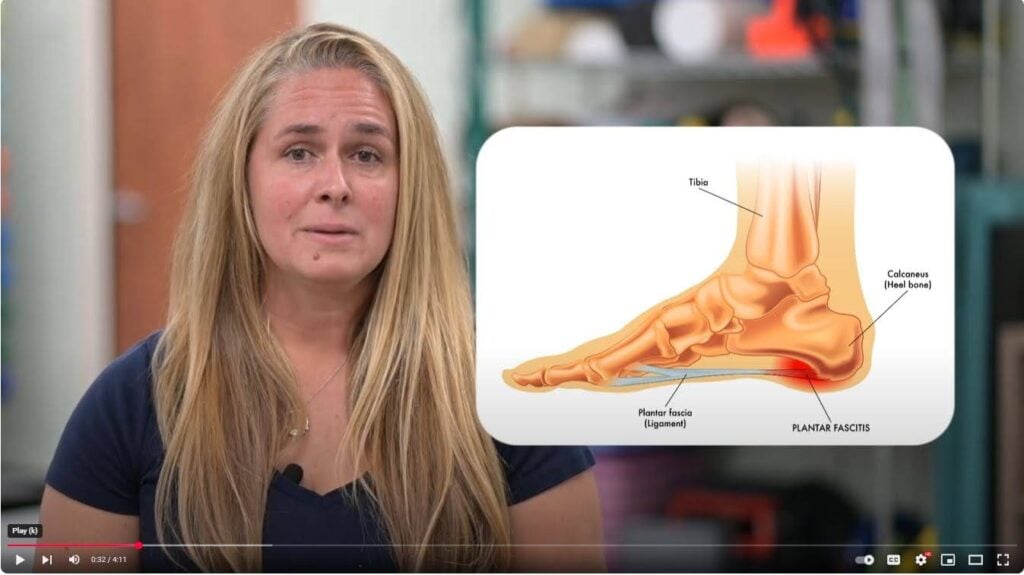
Illustrative images can also be added by a video editor. Here’s an example of a graphic we added to a video on plantar fasciitis:
Get Ready for Your Closeup
Now that you’re getting ready for your close up, you may wonder what to wear for your video shoot. If you’re the speaker or one of your therapists is, the idea is to dress as one would for a normal workday. If your practice has branded tees or polo shirts, by all means, wear them. But avoid wearing stripes because they’ll create distracting patterns in the footage.
As mentioned, authenticity is important but then again, so is professionalism. So, look neat, fix your hair and wear a bit of make up, such as foundation, to eliminate shine and cover blemishes magnified by high-definition video.
Step 4. Shoot Your Vlog
Review these guidelines before pressing “record”:
Shoot Horizontally, Not Vertically
Vlogs are best shot in a horizontal (landscape) orientation for a couple of reasons. The wider shot provides more of a cinematic feel. Horizontal video is also more compatible across multiple devices, i.e., laptops and desktop computers. Therefore, horizontal is more appropriate for longer “YouTube-style” tutorial videos whereas short, informal vertical clips are best suited to social media. (Done right, the horizontal videos can be cut into vertical videos later.)
Speak Boldly and Clearly to Hold Viewer Interest
Speak clearly and confidently as this will add energy to the video and help keep viewers engaged. Even though it can feel a bit unnatural, act like you are talking directly to a person, not a camera.
Ride Over Mistakes and Keep Shooting
Don’t worry about sputters, pauses, losing your train of thought or any kind of mistake you make while shooting. Those can all be edited out. In fact, nearly every video we make has a tremendous number of errors that were edited out. No one does the “one-shot wonder.” All videos are fixed in editing. The key point is to keep recording. If you stop recording for every mistake, you’ll wind up with several hard-to-manage bits of footage that have to be edited into one polished, final vlog. (More on video editing a little later in this article.)
It’s Okay to Look at Your Notes
It’s totally fine to keep your talking points or notes in hand when shooting and take a look at them when needed. But don’t look at them while you’re talking. Instead, pause, look at your notes, look back at the camera and continue speaking. Your pauses can be smoothly edited out of the final video.
Step 5. Transform Your Vlog into a Polished Product
Now that you’ve shot your vlogs, it’s time for post-production work. (“Post-production” refers to the technical work done after a film or video is shot to make it into a polished presentation.) Because post-production requires mastery of visuals, audio, lighting and more, always use a professional video editor to maintain quality standards. Here’s what the video editor can do:
Edit Out Mistakes for a Pro Presentation
A pro video editor knows to edit out sputters, awkward pauses, mistakes, do-overs and so on.
Brand Your Vlog with Elements Such as an Intro, Closing or Music
Each vlog should be branded with your practice name and logo. This often includes creating an introductory section and a closing section accompanied by an upbeat musical theme.
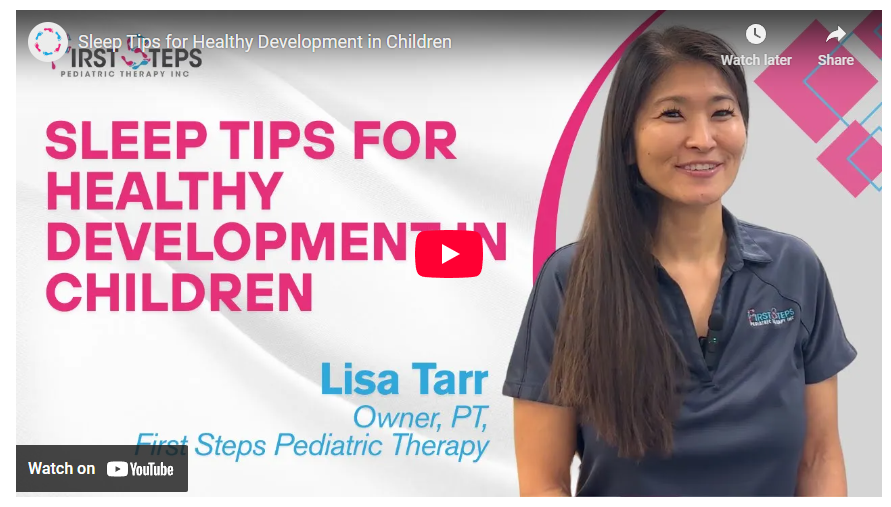
Additionally, your video editor will need to create a cover image for the video which represents the vlog on your website, social media page, etc. This is known as a “thumbnail” image. It includes the practice name, logo, speaker’s name, job title and the vlog title all in an artful arrangement to prompt viewers to click the red “Play” arrow. Here’s a thumbnail we created for First Steps Pediatric Therapy, an Uplift client:
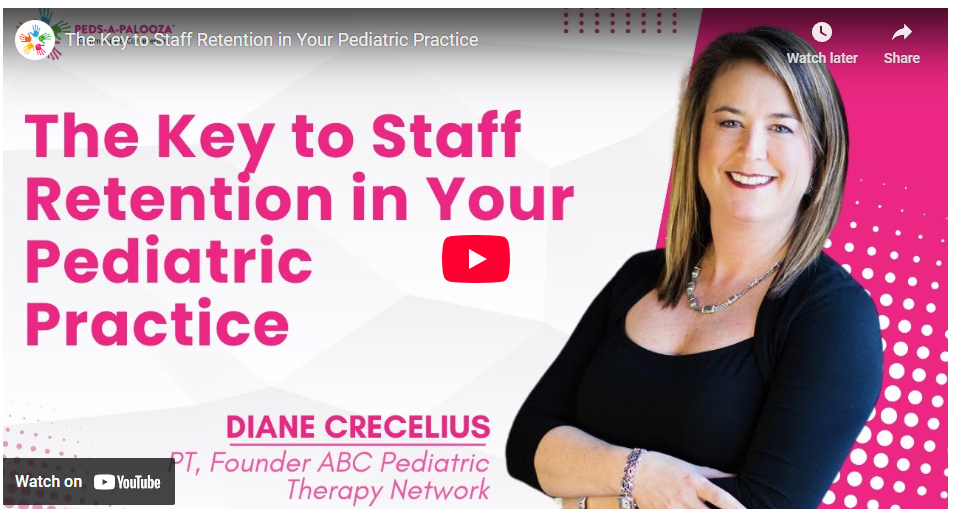
Here’s another thumbnail example we created for our client Peds-A-Palooza™ Community & Conferences. The speaker is industry expert Diane Crecelius, OT and founder of ABC Pediatric Therapy Network. She is giving tips to private practice owners:
Add Onscreen and Transitions for Clarity and Retention
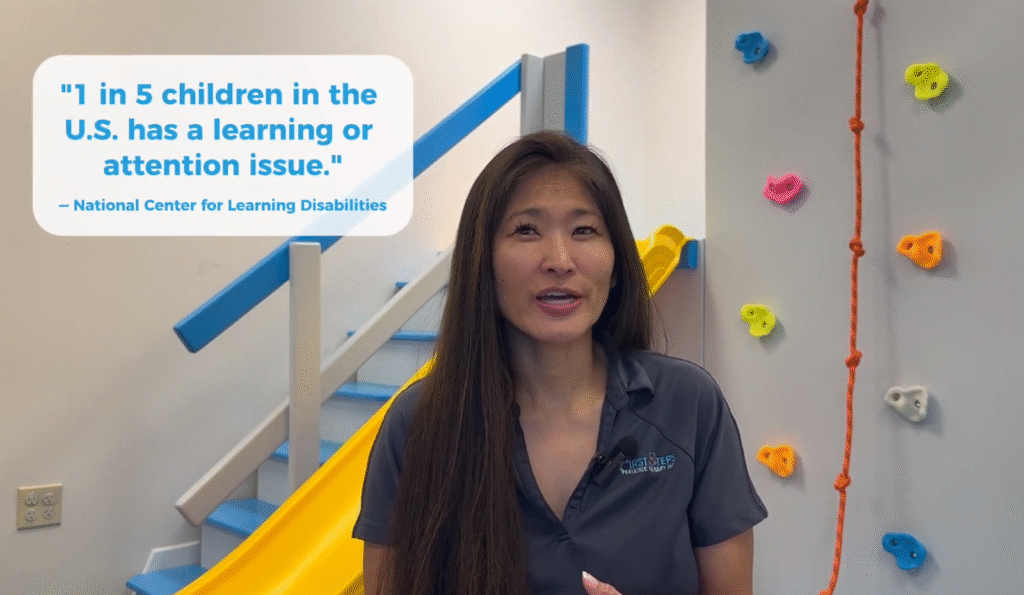
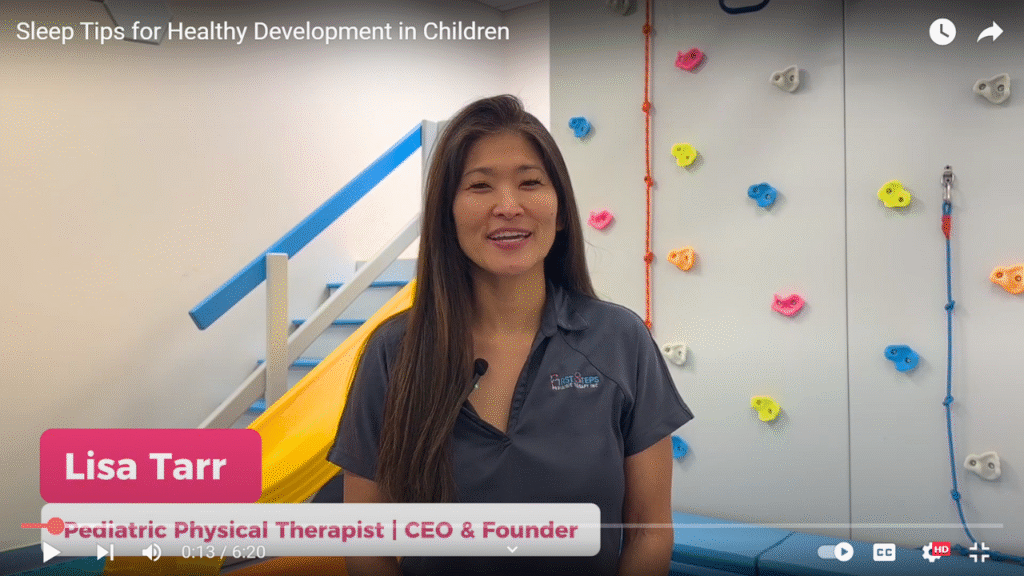
To orient the viewer and aid their understanding, add onscreen text to your vlog. For instance, in our client vlogs, we display the speaker’s name, job title and practice logo as shown in this example below:
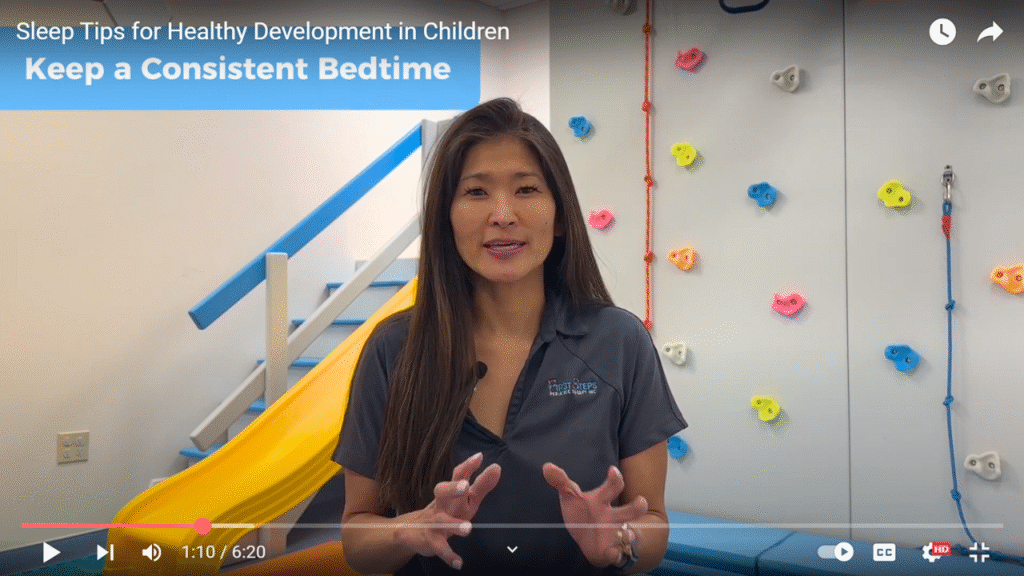
We also include onscreen text to help the viewer follow the info being presented:
Finally, to smoothly transition from the speaker to a text-based screen and back again to the speaker, we use “transitions.” A “transition” is a video editing technique used to smoothly move from one shot to another.
Make the Vlog Three to Six Minutes Long to Hold Interest
As you might expect, viewer engagement—the percentage of a video an individual watches—decreases as the video’s length increases. Short videos, however, don’t allow much time to create a useful vlog. That’s why shorter clips are more suitable for social media. For vlogs, we generally recommend the final product to be between three to six minutes.
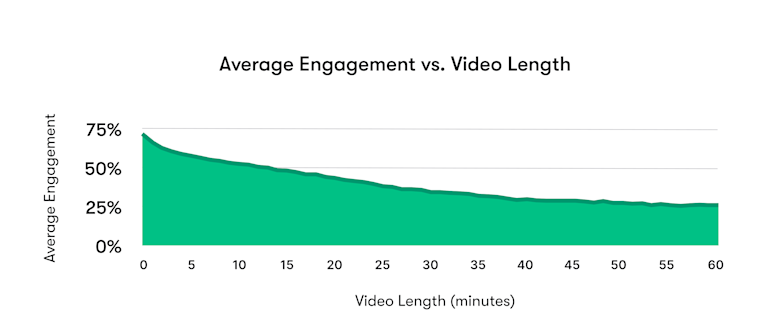
Source: Wisteria
Advanced Tips to Elevate Your Vlogs
Here are additional tips for state-of-the-art video production:
Create Cinematic Effects with Special Settings
You may have noticed images like the one below where the subject is crisp and clear while the background is blurred. This is a photographic technique known as “bokeh” (pronounced “bow-kay”) which derives from a Japanese word meaning “blur, or haziness.”
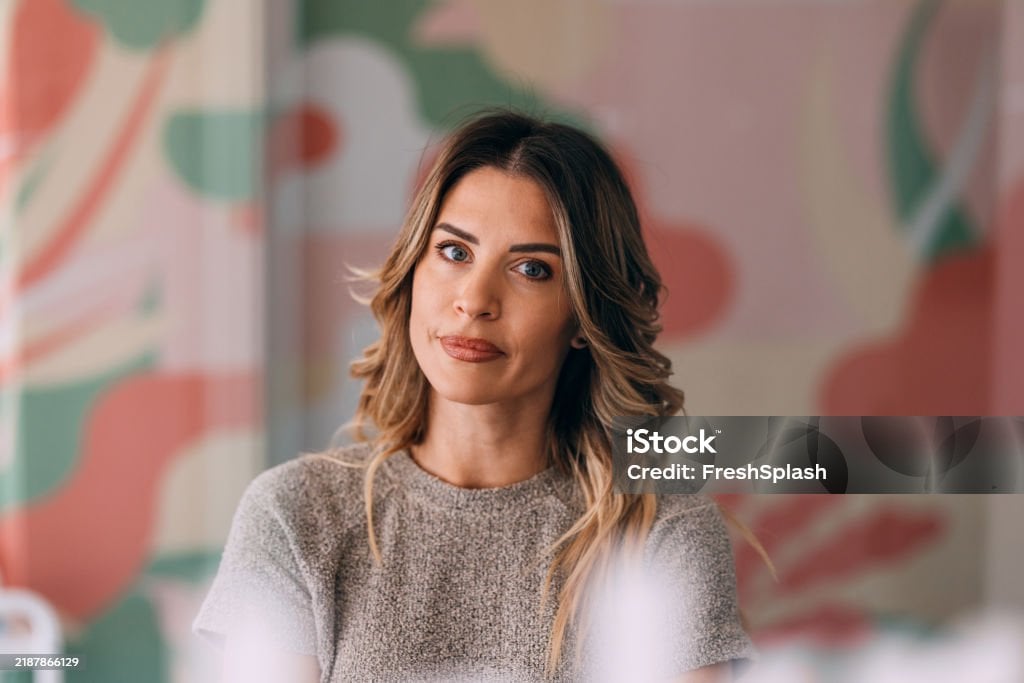
You can get the same effect in your vlogs by using a late model iPhone or comparable smartphone. For iPhones, you’ll select “cinematic” mode in your camera app. For Android phones, you can use bokeh apps from Google Play.
Use Motion to Tell a Story
Give your vlog a story-like feel by walking around different areas as you shoot. This will also add interest to the video. But how to avoid “camera shake” and the jiggly footage it produces? The solution is to shoot with a gimbal—a handheld device that attaches to your iPhone and stabilizes it. The result is fluid, sweeping motion shots. Below is a screenshot of a gimbal in action. You can buy one on Amazon for about $50.
Alternatively, if you’re shooting with an iPhone 14 or later, you can turn on the “Action” stabilization setting for smoother videos while moving. This almost makes it look like you’re shooting with a gimbal and produces very smooth footage. (Unfortunately, you cannot use the Action setting while shooting in Cinematic mode.)
Don’t Tell Them How, Show Them How
As a pediatric therapist, you already know demonstration is a powerful way to educate. Take advantage of the vlog video format by showing rather than telling viewers what you mean. For instance, rather than describing play-based therapy, use someone as a model and demonstrate it. Other ideas: give a tour of your clinic, show how your equipment is used, and so on.
Distribute Your Vlog Broadly
What to do with your final, polished vlogs? Get them out on these channels once every week or two:
1. YouTube: Create a YouTube channel for your practice and upload vlogs to increase your online exposure to caregivers searching for answers in your niche.
2. Website: Post each vlog in your website’s “Blog” or “Knowledge Center” for your client base and prospective clients to discover through Google searches.
3. Email: Alert your client base to each newly published vlog in a professionally designed email newsletter with the vlog link. But don’t try to sell them anything. Your overriding message should be: “Here’s a short video that could help you and your kiddos.”
Emailing vlogs to your client base keeps your practice top-of-mind resulting in referrals and repeat business.
4. Facebook: Post each new vlog to your Facebook page with a short message inviting people to watch with the reason why. As an example, for a new video on how to handle picky eaters, your post might say: “Are your kids picky eaters? Here are some tips on how to have happier mealtimes.”
Conclusion
Done right, regularly publishing video blogs will advance your role as an educator. But rather than educating only the people who have been to your clinic, you’ll reach many that you’ve never met. And you’ll ultimately establish yourself as the go-to expert in your region for your niche.
Need Help with Video Blogs for Pediatric Practice?
We understand video blogging looks like a lot of work, especially for busy practice owners running their clinics. That’s why Uplift Marketing offers custom video blogging services. We happily do most of the heavy lifting starting with an in-depth owner interview and devising a vlog calendar through to highly polished video blogs sent to your email list with a newsletter for your practice.
Questions? Give us a call at (314) 690-1575 or reach out via our website Contact page.